Fuel Valve Repair
The bottom row of pictures below shows a fuel valve repair procedure that I have developed. If you do use this technique, I would appreciate hearing your comments about your experience with it. Just let me know via the Contact Us page.
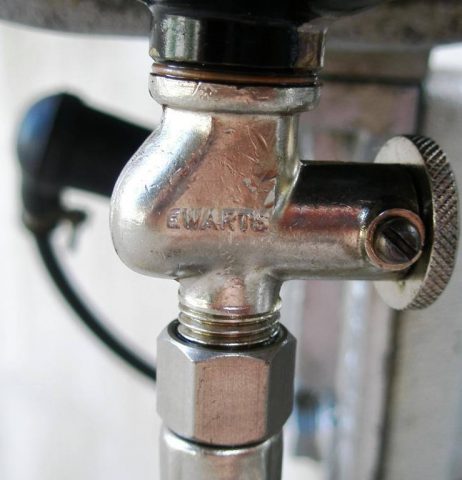
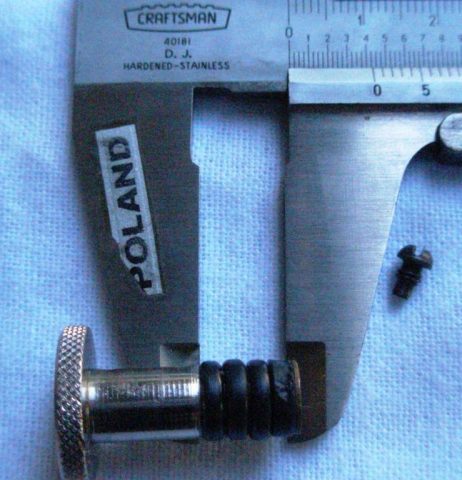
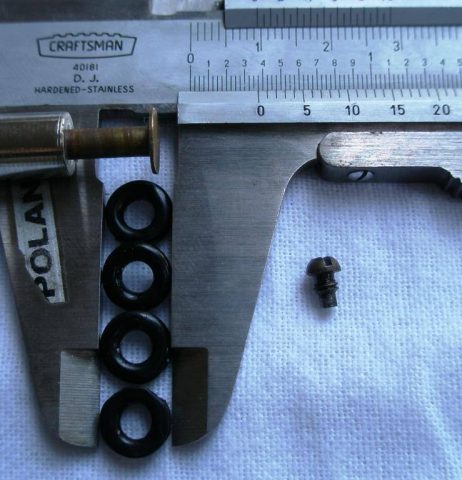
What I have done with my old brass fuel tap is to replace the damaged cork seal with four, same-size “O” rings (in my case, automotive type, nothing special), OD 3/8″ (0.375″ or 9.525 mm) x ID 3/16″ (0.1875″ or 4.7625 mm) x Section 3/32″ (0.09375″ or 2.38125 mm), that is, of the appropriate size to produce sealing friction.
This seems to be a permanent repair, as these “O” rings withstand contact with fuel, and are quite resistant to friction by movement. I initially performed this repair as a temporary solution, but this was several years ago, and the valve is still maintaining friction at the plunger, thus it is working fine.
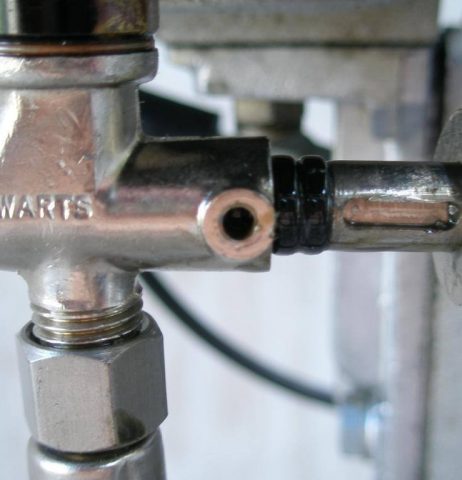
Actually, inspection after some eight years of use showed, as can be seen in the pictures below, some wear of the two “O” rings furthest into the fuel valve. However, the valve was still shutting off the fuel effectively. I just replaced the “O” rings with a new set of the same type and size. Upon installing the new “O” rings I noticed that the fuel holes in the valve produce a small nick on the “O” ring furthest into the valve, although this does not seem to affect performance, as the two orifices for the fuel inside the valve are offset.
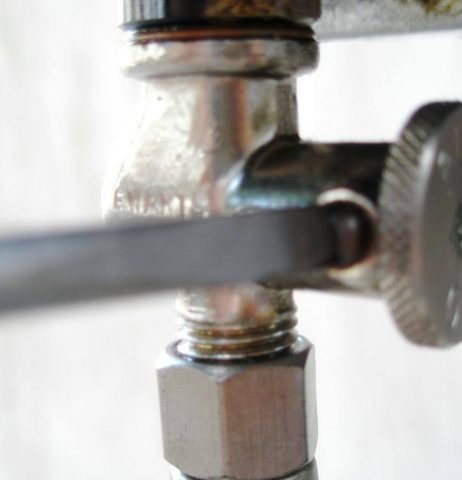
Further, repairing the fuel valve can be completed easily. All that is required is to drain all fuel by loosening the fuel hose from either end, and opening the valve by pulling on the plunger, if still operating. Then, remove the tap from the valve by loosening the retaining screw on the side of the valve. The valve body does not have to be removed from the fuel tank. Just carefully cut away the cork, after removing the plunger from the valve body, and fit in the set of four “O” rings.
A bit of engine oil helps to push the “O” rings in place, but do not use any sharp tools in the process, as this will cause damage to the “O” rings. The “O” rings are kept in position by the plunger and by the body of the tap, and they produce a very effective seal.
One other repair technique I have read about, but not used, is to boil the tap with the dried-up cork in order to revitalize it. Actually, I read about this after I had improvised with the “O” rings, so I did not try it. I am surprised that the original manufacturers of the fuel tap were using cork for this purpose, as it is a material that degrades easily. Particularly since “O” rings have been around for quite a while.
Two special fuel-related situations: fuel is flowing out from the carburetor side, or when tilting the engine. The first is typical Seagull behavior, as this occurs after flooding the fuel chamber in the carburetor with the special plunger on a cold start. As soon as the engine is started, this overflow stops. If not, then you should suspect that there is dirt in the fuel chamber, or that there is a problem with the fuel needle or float.
As to the second situation, the Seagull manual recommends to use up the fuel in the carburetor fuel chamber when reaching port by closing the tap and letting the fuel burn prior to tilting the engine, or else it will spill out. Do remember not to tilt the engine past the horizontal.
I want to remind Seagullers of a tip oft repeated in the Seagull manuals and oft forgotten: secure your engine with a lanyard. This is often overlooked and the cause of many lost engines overboard.
Hope this helps.
><((((º>¸.·´¯`·.¸¸.·´¯`·.¸<º))))><
We are here to help you…
Learn to Live Better ®
><((((º>¸.·´¯`·.¸¸.·´¯`·.¸<º))))><